Wednesday, April 8, 2015

The Loom Risoni Silk Yarn Project


A Bowl Full of Raw Silk Goodness

I love this yarn but I had a hard time figuring out what to knit/crochet with it.  At first I thought about a bias knit very long and thin scarf.  Then I thought about a Missoni style scarf using two shades.  I started several-and under a deadline to find something to add to the April BlackSheep at Orenco Newsletter but Alas this project had to sit and be played with until I found just the right project.  This morning in a fit of insomnia I came upon something I think will be good!  Over at Fran's blog called Wool Tribulations .  She has a crescent shaped shawl (and I do love crescent shawls best!).  She created this pattern to showcase her hand spun fingering weight yarns.  Of course it is great for this because in all of its striped goodness you can use up those shorter lengths you have spun up.  I decided to try it with the Risoni Silk because It is fairly simple in texture while being a great shape.  It is also two sided as you fold it in half.  I am looking forward to playing with the stripes as I knit.  I just started the pattern this morning:


Here is my progress so far.

I also picked Fran's pattern because her post was about Usk.  This lovely little village is just a few miles away from my Mother-in-law's village and when we visit I regularly make David drive me over for a walk around the antique stores, a stop off at the garden centre and a bit of lunch at the pub.  When I clicked on Fran's pattern from Ravelry I happily recognized the photos and her discussion about Usk and the Garden Centre.  I sent a comment off to her so I will now have to pick her brain for good yarn/fiber stores to visit the next time I am there.

Lately I have been experiencing a bit of what I call a crochet Renaissance.  Kat Streiby's Cadfael Shawl is a crochet workout.  No individual stitch is difficult but because I have been mostly a vintage pattern crochet lover There were new stitches I had never used and the four row sequence pattern was never boring!  In the last few weeks I have crocheted two of these shawls getting ready for Kat's pattern launch on Ravelry at at the upcoming TNNA convention.  We are taking photos this weekend so watch for an update-I Promise I will be blogging much more frequently from here on out.  Saturday will be photos of my progress and Cadfael photos/links etc.


http://www.ravelry.com/patterns/library/windowpane-scarf-3

Sunday, December 21, 2014

Christmas Handwork Guild Fun: Cookie Exchange Recipes

We held our first annual Christmas Cookie Exchange on our regularly scheduled Hand Work Guild Night. The array was delicious! I have included two of the recipes here but add your favorite Christmas recipe in the comments!  Who doesn't love a good cookie.
 The Cookie Table
 Margret Talking to Kelly about Tatting :)
 Orange Mollasses Cookies (Grace Johnston invention)
These cookies scream holidays. They are spicy and orange and oh so soft.

  • ⅔ melted coconut oil
  • ½ cup white sugar
  • ½ cup packed brown sugar
  • 1 egg
  • ¼ cup molasses
  • 1 1/2 teaspoons orange extract
  • 2-1/2 cups all-purpose flour
  • 2 teaspoons baking soda
  • 1 teaspoon ground cinnamon
  • 1-1/4 teaspoon ground ginger
  • ½ teaspoon ground cloves
  • ¼ teaspoon ground nutmeg
  • ⅓ cup white sugar (for rolling)
  • the zest of three oranges

preheat oven to 350 degrees

mix together coconut oil and brown sugar. add in orange extract and molasses.

mix flour, baking soda, salt, white sugar, and spices.

take a pinch of orange zest and toss with your rolling sugar. set to the side to infuse.

slowly add dry mixture to wet mixture, as well as the rest of the orange zest. mix until combined.

take dough and make 1 inch balls in the palm of your hand, rolling in the orange sugar, and place on a baking tray lined with wax paper. 

bake at 350 for 12-14 minutes until firm at the edges.
Kelly Slack says these cookies have no name-they are just those Corn syrup, peanut butter and cornflake cookies.  She has been making the since college and they are on the internet :)

Peanut Butter Crunchies - An Easy Christmas Treat!
Author: 
Recipe type: Dessert
Prep time:  
Cook time:  
Total time:  
Serves: 24
 
Ingredients
  • 1 cup corn syrup
  • ¾ cup granulated sugar
  • 1 cup peanut butter (crunchy or smooth both work)
  • 4 - 6 cups of corn flakes
  • waxed paper
Instructions
  1. Combine corn syrup and sugar in a large saucepan over medium high heat until the sugar dissolves (but don't bring it to a boil).
  2. Remove from heat and add peanut butter.
  3. Stir until smooth.
  4. Add corn flakes. More cornflakes gives you a crispier treat while less gives you a chewier treat. (I make mine chewier.)
  5. Drop using two spoons onto wax paper and let cool.
  6. Makes approximately 2 dozen.
Notes
When storing these, make sure to layer wax paper between the layers or they will meld together in one big lump.
Kelli found the recipe at: http://merryabouttown.com/bake-peanut-butter-crunchies-easy-christmas-treat/,

Thursday, November 6, 2014

Free Pattern: Soft Tui Cowl


This cowl is knit extra wide (or long depending on how you think about it!) and then folded in half so it is of double thickness.  The chain construction of the baby alpaca yarn makes is oh so soft and light as a feather!


Yarn: 4 skeins Misti Alpaca  Tui (each is 120 yds, Sport weight).   Two skeins in Charcoal Gray, one skein of light Gray and one in black.
Since these skeins retail for $6.00 each this yarn makes for nicely priced project or gift for someone special.

Needles: Size 10, 32 inch circs.

Cast on: 200 loose stitches
You can choose to do a provisional cast on as you will be joining these when you fold the cowl but I did not I used a darning needle and sewed the two edges together.

Twist your work one time to form a Mobias ring (there are may tutorials with clever ways to do this.  Frankly I seem to do it accidentally most of the time).

Knit around creating random stripes with widths in whatever manner you like.  I worked shorter and darker stripes on one half of my work and then shifted to lighter broader stripes on the second half.  Continue to knit until you are almost out of yarn.  I made sure to start and end with the same yarn color.

Save 3 yards of the beginning and end shade for stitching the two edges together (Charcoal for me). If you choose the provisional cast on technique save enough to bind off the two edges.

When I had almost run out of yarn I very loosely bound off.  I then folded my piece in half so that my cast one edge was wrong sides together with my newly bound off edge.  Using pins I evenly distributed sections to that I sewed the two sides together evenly.  Using a loose whip stitch I joined the two sides together.  When finished the tube can be moved around to whatever striped sequence you like best.  When you wear this half of the front side will show and half of the backside.


Wednesday, October 1, 2014

It is Hat Making Season Again!

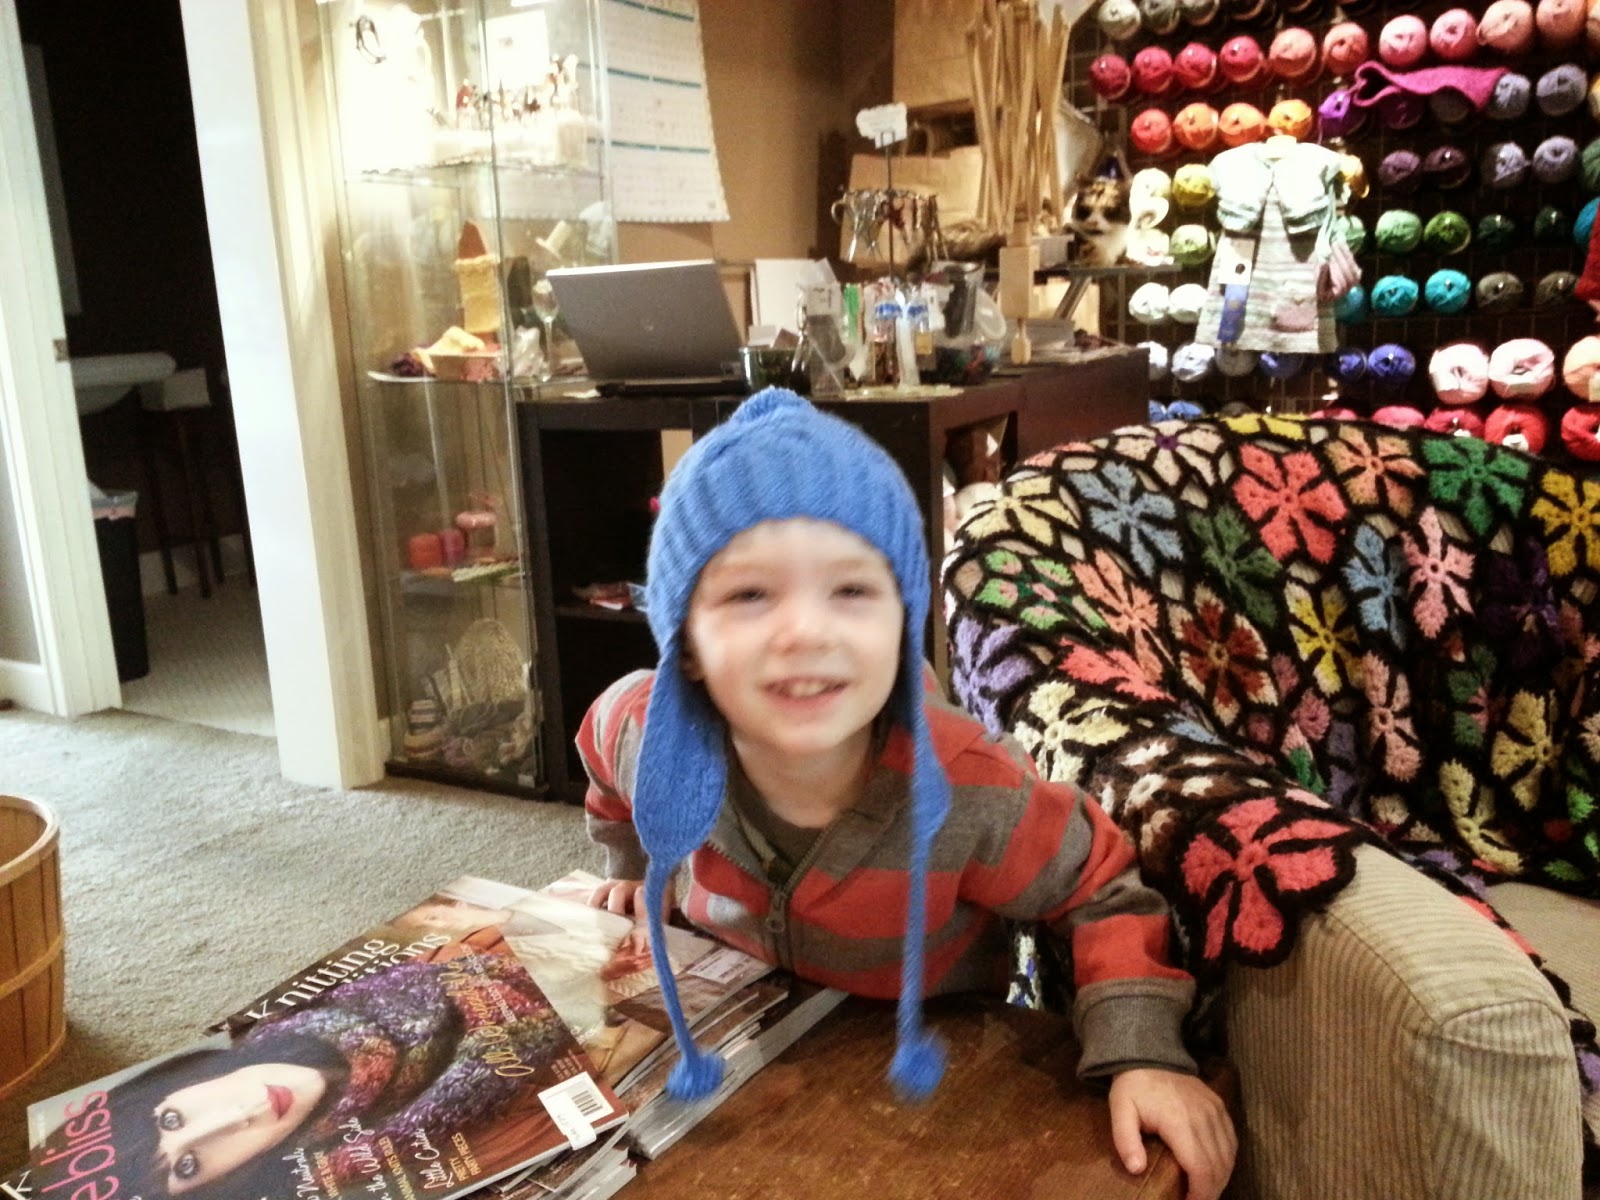
Last week a customer came in with a cute couple of boys in tow.  She purchased four skeins of superwaash worsted weight yarn.  Well this morning she visited again with one hat done.  It was so cute I thought we should share it.  I even found the pattern she used!!

You can find this pattern here:  http://petitepurls.com/Winter12/winter2012_p_iheartcables.html

the pompoms on the top and ties were especially cute!

Thursday, September 18, 2014

Free Pattern: Aaron's Hitchhiker Necktie


Aaron is my bank teller.  Last summer when he found out I had a yarn store he asked me whether I could knit a necktie?  I said yes but did not commit to the project until his coworkers asked me if I would make it for his birthday.  Aaron's Colleagues at the Orenco Umqua bank picked out the Lilliput sock yarn in the color Puppy love (He did really ask for pink). I did the pattern and knitting.  The result is this necktie that you too can make for a special guy.  In addition I put in a little Homage to the Hitchhikers Guide to the Galaxy as the cast on number is 42 .  You can get the pattern on the Blacksheep Woolshed Blog.
Needles: size 1 (2.25mm), 40” circ. For magic loop Yarn: 1 skein (approx. 300 yds) fingering weight.  Cast on: 42 stitches
  
This tie was knit in a seed stitch pattern It is important however to create a row of knit stitches on either side of your tie so it will lay flat.
Set up Round : k 1, p 1 10 times (total 20 stitches), pm, k1, k1, p1 10 times (total 20 stitches), pm, k1.
Position your knitting so that each pair of markers is in the middle of each needles (10 stitches, m, 10 stitches (this saves lost markers and forgotten knit stitches).
Round 1:  p1, k1 repeat to marker, sm, k1. Return to p1, k 1 until end of needle. Needle 2:  P1, k1 to marker, sm,  k1. Return to p1, k1 until end of needle.
Round 2: Needle 1: k1, p1 repeat 5 times, sm, k1, k1, p 1 until end of needle. Needle 2: k1, p1 repeat five times, sm, p1 k1 repeat 5 times. Repeat rows 2 and 3 until the tie measures approx.  18 inches. 
Decreases rounds:  Needle 1: k1, p1 repeat to marker, sm k2tog, p1, k1 until end of needle. Needle 2:  K1, p1 repeat to marker sm, k2tog, p1, k1 until end of needle.
This is a list of the total number of stitches remaining needle after each decrease round. (40, 38, 36, 34, 32, 30, 28, 26, 24, 22, 20 st remain).
*Repeat rounds 1-2  5 times (total 10 rounds),
Repeat Decrease Round.  **
Repeat from * to ** until 20 stitches remain on your needles.


With these remaining 20 stitches knit rounds 1 and 2 until entire necktie measures approx.  82 inches. Block and wear.